

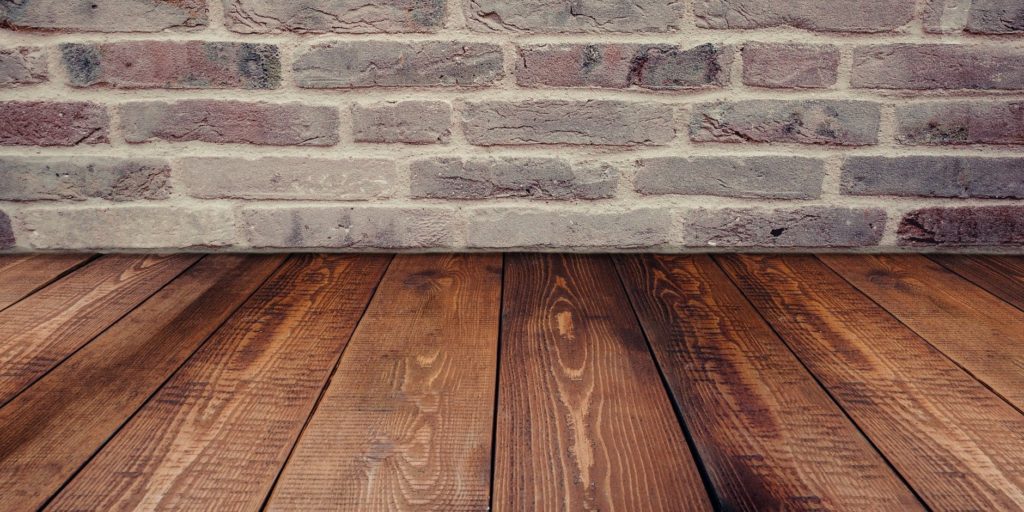
One of the biggest advantages of wooden floors is that once damaged, you don’t have to spend a fortune to replace them. It can be easily sanded and refinished several times, making it last for a lifetime.
Here, we have compiled a guide on how you can successfully sand your floor, even if you’re inexperienced and haven’t tried it before.
Guide for Sanding Your Floor
1. Preparations for Sanding
Sanding a wooden floor or a floorboard can cause a lot of dust in your room. First, wear a mask to protect yourself from dust particles. Clear your room of all the furniture, curtains, and bed. Make sure you have covered your shelves with a plastic sheet to protect them from dust.
You need to make sure that no nails or staples are protruding out of the floor as it can damage the sandpaper. Clear the floor by vacuuming and then wiping with a damp cloth.
2. The Process of Sanding the Wooden Floor
The most important thing to remember before you start sanding is that you have to do it with the grain and not across or against it to avoid scratches on your floor. For a professional look, use a drum sander for most of the room. While for the edges, use an edging sander.
In the beginning, use a small coarse paper of 24grit and gradually move toward 40, 80, and 120 grit sandpaper. By using this technique, you’d save your floor from over-sanding, which makes the floor rough.
Don’t cut corners by going for cheaper alternatives to sandpaper as they don’t provide the same results, and usually, they’re not easy to maintain. For safety, always remember to unplug your sander when changing papers.
3. It’s Time to Varnish
By now, you should be proud of yourself for successfully sanding your floor, but the job is not done yet. Varnishing makes your floor robust, durable and increases its longevity.
Start by vacuuming the floor to get rid of all the dust and debris left behind after sanding, and then start varnishing with a varnish that best suits your choice. Like sanding, make sure you varnish along the grain.
It’s up to you to decide the gloss level for varnishing, but a satin finish strikes the best balance between gloss and hiding apparent imperfections. It’s recommended that you varnish the floor as early as possible once you’re done with sanding. Repeat the varnishing coating three times and up to four times in sections of your rooms that will receive the most traffic.
Only after the varnishing has cured can you return your furniture to the room. The period is usually from 24 to 48 hours.
If you’re looking for professional wood floor dustless refinishing in Woodinville, Five Star Hardwood Floor has highly trained floor contractors who provide expert floor services. We also provide hardwood floor installation in Woodinville at affordable rates.
To hire our services, get in touch with us today.