

Do you ever stop by an antique store to look at a wooden piece? The finesse of the carving, rich stain that brings the craft to life, and the subtle sheen from the varnish is marvelous. You can’t help but wish for a similar centerpiece for your living room!
What you saw at the store was the end-result. With all due credit to the craftsmanship and wood polish – it’s the sanding that gets the job done.
Proper sanding can turn a raw block of wood into the highlight of your interior décor. If you want to add value to your wooden interiors, choose professionals who understand the importance of sanding.
What Is Sanding?
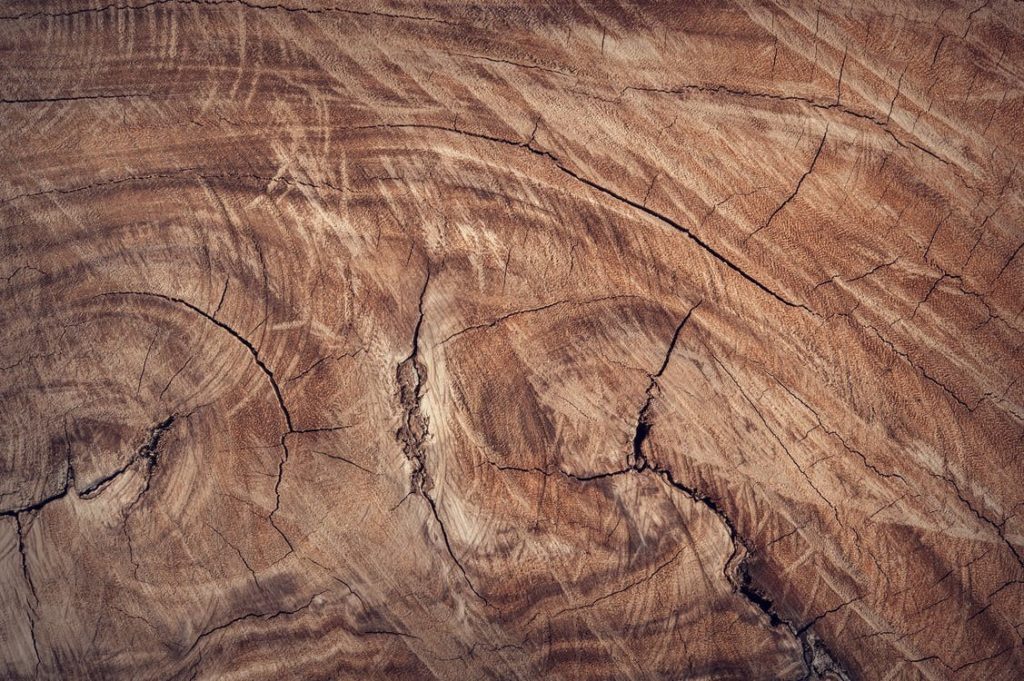
Feel the texture of a block of wood that has been roughly chopped. You’ll notice grains standing out and fibers poking into your skin. Sanding smooths these out and helps uneven out the bumps.
We use sandpapers and sanders to finish raw pieces for a refinement of the final product. Wood abrasion prepares the piece for staining and polish, and that’s why sanding is crucial to the process. With the wood fibers evened out, the material accepts the finish coat more readily.
Sanding By Hand
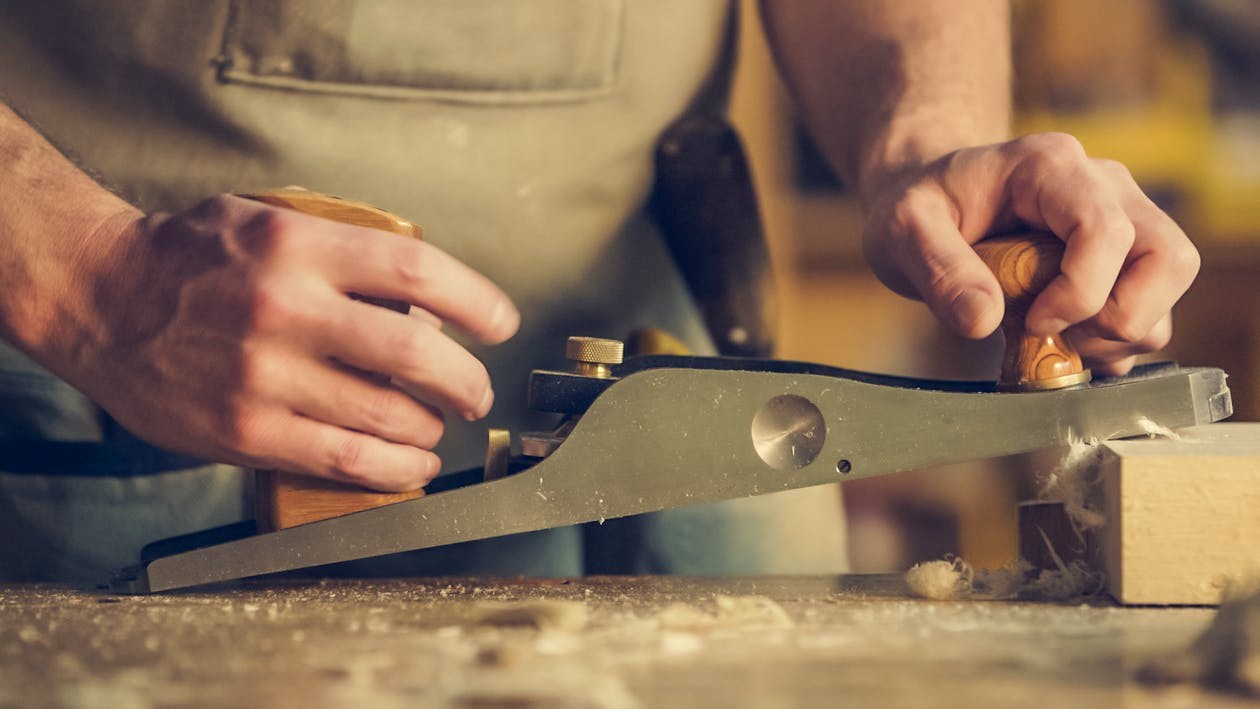
If you’re sanding a piece of wood with intricate carvings and shapes, you should do it by hand. Hand sanding gives you more control over the recesses and corners and allows you to round the edges for the perfect arch.
You have to be careful while sanding over minor details because excessive sanding can shave these off too. This tip comes in handy when sanding shelves, cabinets, and window and door trims. You need a foam profile sander for a clean look to your molding and trim.
Note: sandpaper can only level an uneven surface; it can’t be used to remove dried glue or erase marker stains.
Sanding For Finishing
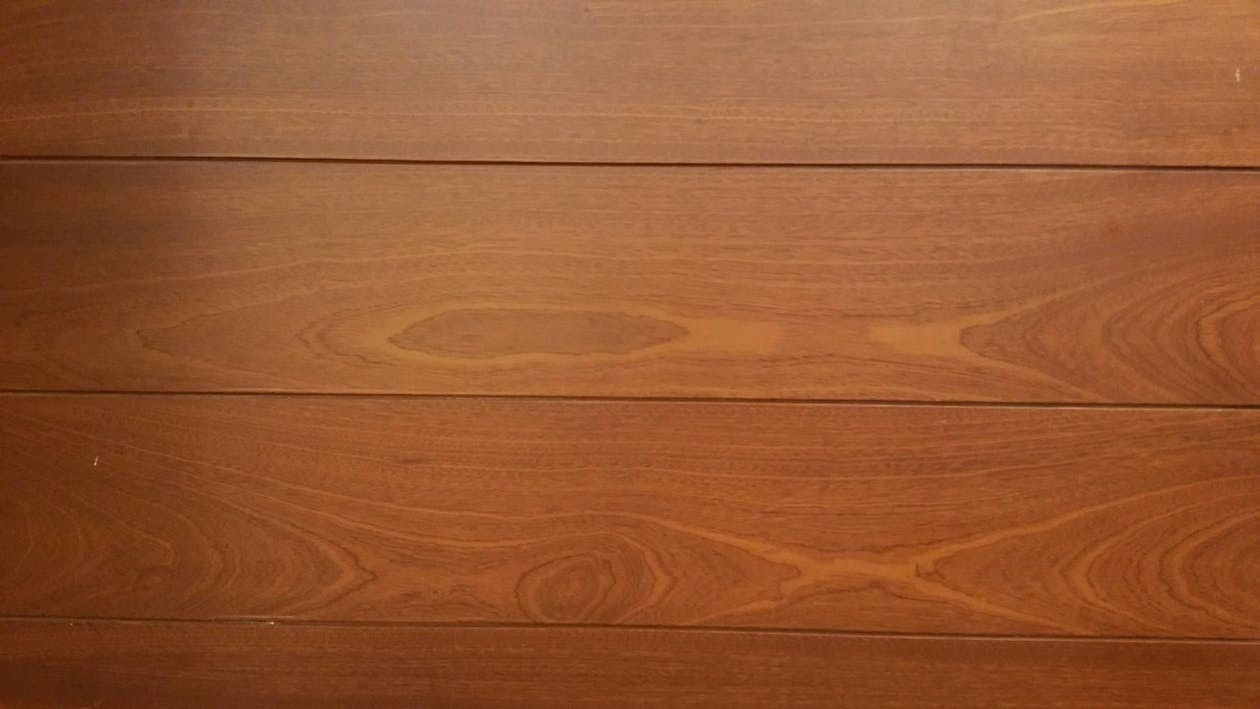
Want to give your masterpiece a clear coat? You’ll need a 220-grit paper to sand the surface before staining and finishing. Once you’re done sanding, wipe the area with a damp sponge, so the grains swell and rise. This way, the wood will absorb the stain faster.
Want to finish off with an oil varnish? Don’t forget to sand the surface before applying teak oil. Make sure you’re using with a 320-grit paper and moving along the grain (not against it).
Want to paint your woodwork? You’ll need the wooden surface to hold the paint. Sanding creates a roughness that allows the paint to stick. Don’t worry about the bumps; you can always sand again after the first coat. The result will be a wood piece with a majestic glow and factory finish.
If you want your hardwood floors refinished or door and window trims redone, we can take care of it. We offer professional hardwood floor services Seattle as well. Get in touch right here for a free estimate on our services to Sand Floors Seattle.