

Hardwood floors add comfort, style, and warmth to your home. However, installing floors is not always an easy or one-person job. If you want hardwood flooring in your house, this guide will help you each step.
At Five Star Hardwood Floor, we help individuals by providing expert consultation and installation services to our customers in the Seattle area. We offer multiple services and have over 13 years of experience on our team. Our hardwood flooring services are bound to perk up your space, ensuring you have to spend less time cleaning and maintaining your floors.
About Hardwood Flooring
Over the years, the demand for hardwood flooring has increased. Given the benefits of hardwood, this comes as no surprise. Hardwood floors are chic and elegant and give your space a classy, neat look without you having to do much. They are safe for people who have kids or elderly people in the house because they are easy to clean and have water surfaces. Additionally, they are highly water and stain-resistant and durable, so you don’t have to worry about servicing them very often.
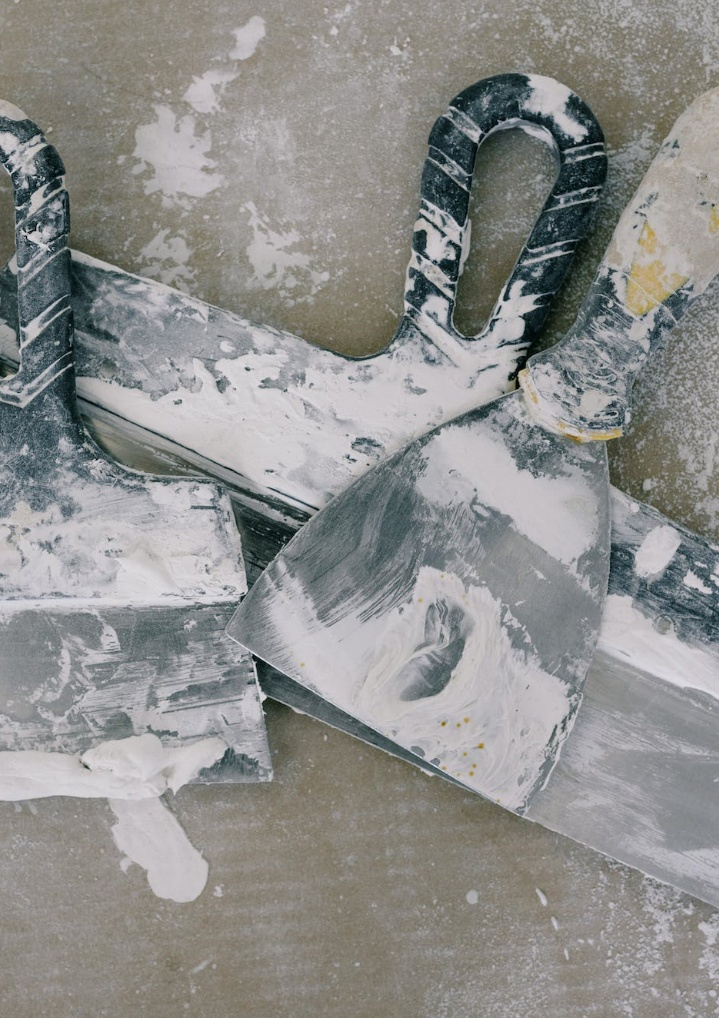
Although some say they scratch easily, you can opt for refinishing services for wood floors with a professional and have good new floors in no time. Five Star Hardwood Floor offers great finishing and staining services, so you do not have to worry about doing it all on your own. Although hardwood has many benefits, installing floors in your space is not always that straightforward. Let’s discuss a few mistakes some people make when installing hardwood floors themselves.
Common Mistakes When Installing Hardwood Floors
1. Inadequate subflooring
Your foundation determines the quality of your subsequent installation. If your subfloor is not prepared before installing your hardwood, you will face issues such as cracked planks or an uneven floor. In the long run, you may even experience the creaking of floors and noisy hollow sounds as you walk. Ensure spending a good amount of time on subflooring before you move forward.
2. Not Checking Moisture Levels
Humidity directly impacts wood flooring in that it reduces the compactness and quality of the installed wood. While the topmost layer is as good as a waterproof floor, the foundation needs to be free of moisture and liquids for your flooring to last for years. Living in cold, dry atmospheres requires more moisture control because floorboards and planks relax during the summer due to humidity in the air.
3. Hasty Layout
When clients try DIYs during floor installations, they need to consider the perfect layout of the room. Even if your room looks like a perfect square, multiple measurements and plank adjustments are still needed for the hardwood to fit the floor perfectly. Wood planks that are laid poorly will show because of the discreet break in the pattern, bringing down the classy look of hardwood flooring.
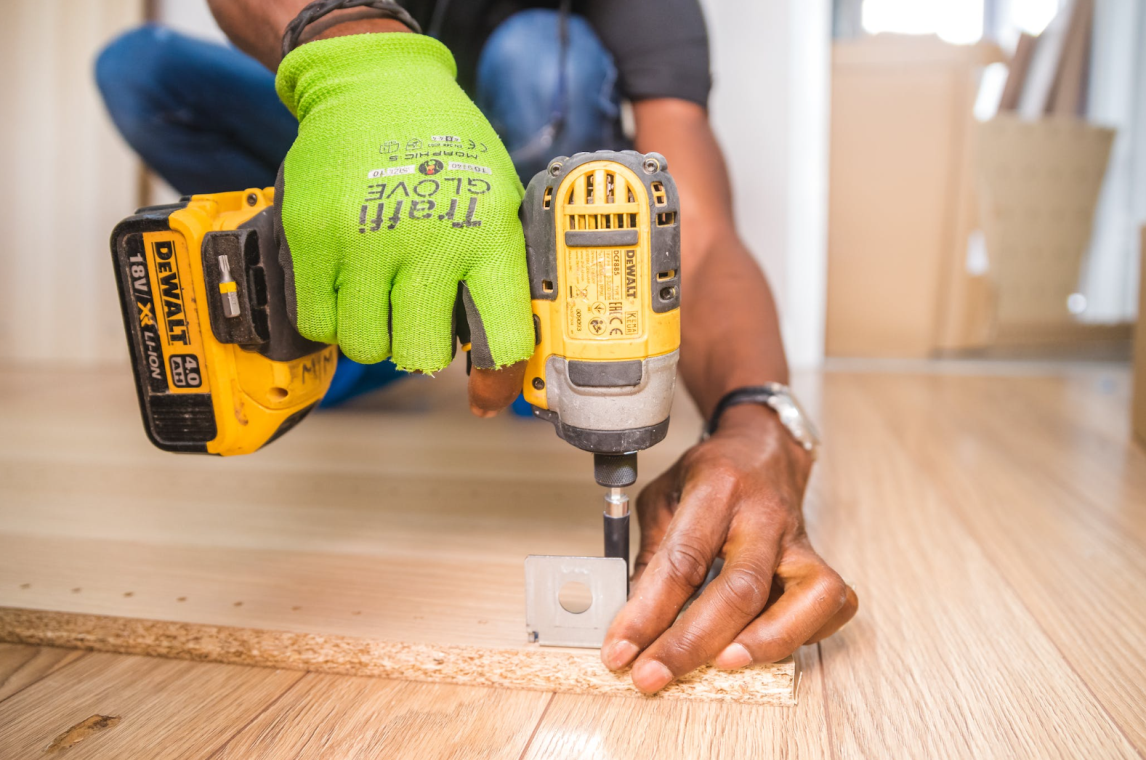
4. Insufficient Nailing
Although it may seem like your floorboards are in place, it is always safe to nail down your planks and boards a little extra. Poorly nailed planks will not do a good job at holding your floor together, increasing the chances of accidents at home. Installing floors done right once can save you from a lot of maintenance and hassle in the future. Laminate floors can do with fewer nails and screws, but hardwood floors need more discipline because of their strength.
Steps to Installing Hardwood Floors
Before you start nailing, it is a good idea to consider your safety. Ensure you have all the right tools before you start to avoid back and forth. Floor installation has many types but requires nearly similar tools to install. We have listed items for you to consider so you can save time and have everything in one place before you begin.
Hardwood Installing Tools
- Moisture meter
- Safety goggles
- Safety mask
- Hammer
- Stable gun
- Nails
- Mallet
- Work gloves
- Drill machine and bits
- Knee pads
- Ear plugs
- Chalk line
- Measuring tape
- Floor nailer
- Tapping block
Installing Hardwood Floors
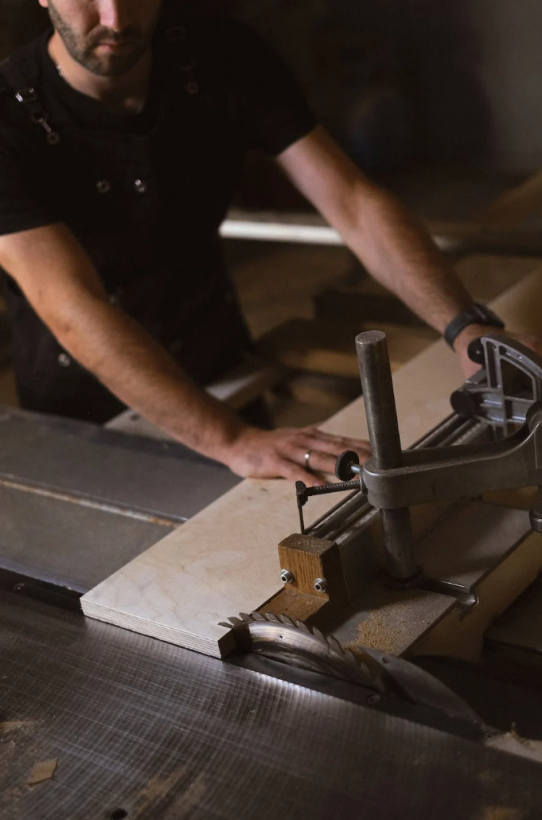
1. Estimate Required Material
When you choose your hardwood, the most important thing is to know how much material you need. Exact measurements are important because even a slight difference can lead to huge issues in the future. Changing weather, mishaps, and weight exerted can all contribute to deepening any onset issues.
2. Wait for Hardwood Adaptation
Let your hardwood get used to the new house environment. Manufacturers and warehouses usually ensure standard, optimum temperatures to preserve wood, but your house conditions will differ. Experts suggest leaving hardwood floors for about a week in 30-55% humidity conditions at roughly 75 degrees.
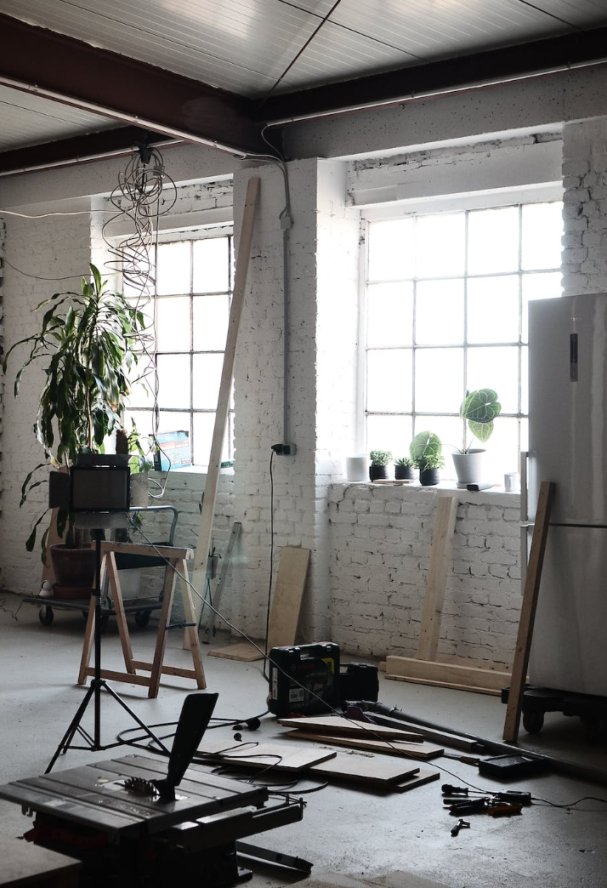
3. Prepare for Hardwood Floor Installation
Here is where proper subflooring comes into play. Ensure you have everything down before you start installing your hardwood. Your subfloor should be smooth, free of humidity, and leveled. Use a silicone shield or asphalt to absorb moisture if you think the foundation is not completely dry.
4. Put down floorboards
- Your first two rows need to be the straightest because all others depend on this alignment, so make sure to pick the straightest boards when you begin. Nail them thoroughly using the floor nailer.
- Use the chalk line and place the first board with its grove facing the wall. Place spacers 3/4-inch in size between the end of the board and the wall.
- Hammer this board down in drilled spots.
- The mallet will help you place the next board in place. Tongue and groove flooring are relatively easier, and you can fit your planks like a puzzle. This technique also helps hide nails with the groove of the adjacent board, so you do not have to worry about construction materials showing.
- Use a 45-degree angle to nail the tongue edge along the length of the row.
- For another row, push down the groove against the tongue of the adjacent row and pack it into place using a tapping block.
- Install the floorboards as you go using the steps above. Reel the joints together, and remember to leave room for expansion. Use the floor nailer through the tongue and push the nails down with the mallet.
- Nail the last two rows on the tongue, drilling 1/32-inch diameter holes half an inch from the edge, leaving a ¾-inch gap for the board to expand. The pull bar will help you to put the nails together.
- Get rid of the extra underlayment, and then sand and stain it. Cover holes with wood-colored putty.
5. Put baseboards back
Replacing the baseboards will cover up any extension gaps so that the floor is now even. As you align the lower side of the baseboard with the top of the floor, ensure to nail it against the wall.
6. Install transition strips
Transition strips will be needed to cover places on the floor that are exposed.
Your Five-Star Floor is Here!
Be it installing wood floors, getting laminate floors, or mounting waterproof floors, Five Star Hardwood Floor has got your back. Simply contact us today and renovate your floors with us! We offer professional experience and services when it comes to hardwood flooring. Our professionals have been in the industry for well over a decade, and no problem is too big for us.